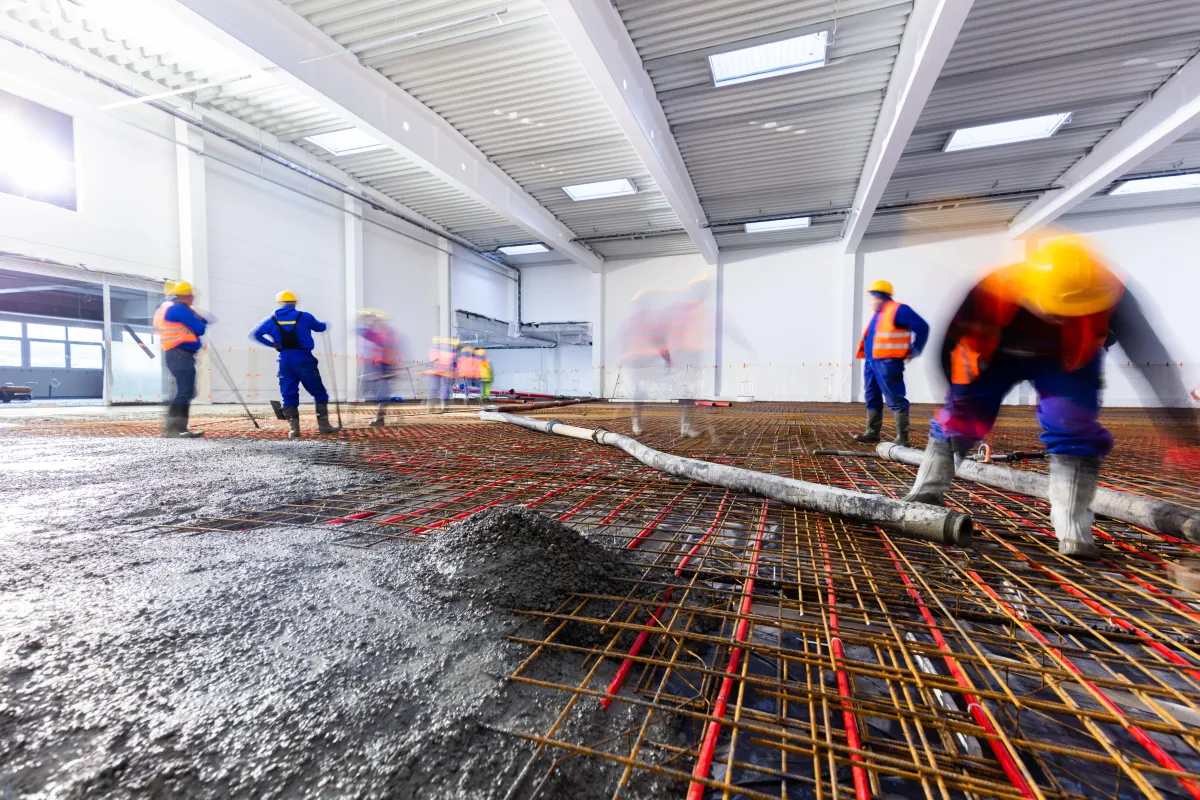
The Ultimate Guide to Floor Preparation Before Pouring Liquid Screed
The Ultimate Guide to Floor Preparation Before Pouring Liquid Screed
Introduction
The performance and longevity of a liquid screed floor depend heavily on one factor: surface preparation. Even the most advanced screeding products can fail if the substrate isn’t properly cleaned, sealed, and primed. For developers, builders, and contractors working across Surrey, Sussex, and the South East, understanding how to prepare a floor correctly before pouring liquid screed is essential to ensuring a flawless finish and avoiding costly rework.
In this guide, we’ll outline the critical steps in preparing a subfloor for liquid screed, common mistakes to avoid, and professional best practices that ensure every pour performs perfectly.
1. Understanding the Substrate
Before any preparation begins, the substrate must be assessed for strength, stability, and cleanliness. Liquid screed relies on good adhesion and a consistent base to achieve its self-levelling properties.
Concrete bases should be fully cured and free of cracks or delamination.
Insulated floors (with underfloor heating systems) must be stable, with no movement or compression when walked on.
Timber floors are generally unsuitable unless reinforced or covered with a rigid layer, as flexing can lead to cracking.
Any defects in the substrate will telegraph through the screed, compromising the finish. A thorough inspection at this stage prevents far bigger issues later.
2. Cleaning and Dust Removal
Dust, debris, and grease are the enemies of adhesion. Before priming, the floor must be completely clean and dry. Vacuuming is often more effective than sweeping, as fine dust particles can interfere with the bonding layer.
On construction sites in Guildford, Horsham, and Crawley, where multiple trades work simultaneously, it’s common for surfaces to become contaminated by plaster, paint, or adhesive. Removing these contaminants with mechanical cleaning (grinding or shot blasting) is strongly recommended for optimal results.
3. Installing the Damp Proof Membrane (DPM)
Moisture control is critical to the success of any screed installation. A Damp Proof Membrane (DPM) acts as a barrier, preventing moisture from the substrate from rising into the screed layer.
For most projects in the South East, a 1200-gauge polythene sheet is used, with all joints sealed using double-sided tape and turned up at the edges to form a watertight “tray.” Overlapping joints by at least 100 mm ensures continuity.
In basements or ground floors where rising damp is a risk, a DPM should always be paired with a vapour control layer to maintain long-term stability.
4. Edge Insulation and Expansion Joints
Next, edge insulation strips are installed around the perimeter of the room and any vertical elements such as columns or pipes. These serve two key purposes:
Allowing for thermal expansion and contraction, particularly when underfloor heating is used.
Preventing sound bridging and improving acoustic performance.
For larger areas, movement joints may also be required to accommodate expansion across the surface. These should align with any existing structural joints in the substrate to minimise stress points.
5. Securing Underfloor Heating Systems (if applicable)
When combining underfloor heating (UFH) with liquid screed — common in high-end homes and commercial projects throughout Surrey and Hampshire — careful setup is essential. The heating pipes should be:
Firmly clipped to the insulation boards at 300 mm intervals.
Pressure-tested before pouring to identify leaks.
Clearly marked at manifold points to prevent movement or damage during installation.
Liquid screed’s fluid nature allows it to encapsulate the pipes completely, ensuring even heat distribution. However, any loose pipes can float during the pour, so proper fixing is critical.
6. Applying the Primer
Priming is one of the most overlooked but vital steps in floor preparation. A specially formulated primer ensures proper bonding between the substrate and the screed.
For absorbent substrates like concrete, a diluted acrylic primer is typically applied using a roller or spray, ensuring full coverage without pooling. In some cases — particularly when applying screed over insulation or polythene — a primer may not be required. Always follow the manufacturer’s recommendations and confirm with your screed supplier before proceeding.
7. Final Checks Before Pouring
Before the liquid screed is pumped onto the floor, a final checklist should be completed:
DPM is intact and sealed.
Edge insulation is secure and continuous.
Heating system has been pressure-tested.
Primer is fully dry.
All door thresholds and openings are temporarily sealed to prevent leakage.
A quick pre-pour inspection, ideally conducted with the screed contractor, ensures that every element meets the correct specification.
8. Why Proper Preparation Matters
Skipping or rushing preparation might save time in the short term but can lead to serious problems down the line — poor adhesion, cracking, curling, or uneven finishes. In high-value projects or large developments, re-screeding even a small section can result in significant additional cost and schedule disruption.
By following best practice preparation methods, developers and contractors in the South and South East of England can guarantee performance, durability, and client satisfaction.
Conclusion
Every successful liquid screed installation starts long before the first pump is switched on. Correct preparation is the foundation of a smooth, strong, and long-lasting floor. From moisture protection and priming to heating system setup and expansion detailing, every step contributes to the end result.
If you’re planning a project and want expert guidance on site preparation and screeding solutions, contact Surrey Flow Screed today for a free quote. Our experienced team serves clients across Surrey, Sussex, Hampshire, and the wider South East, delivering precision and reliability on every pour.
